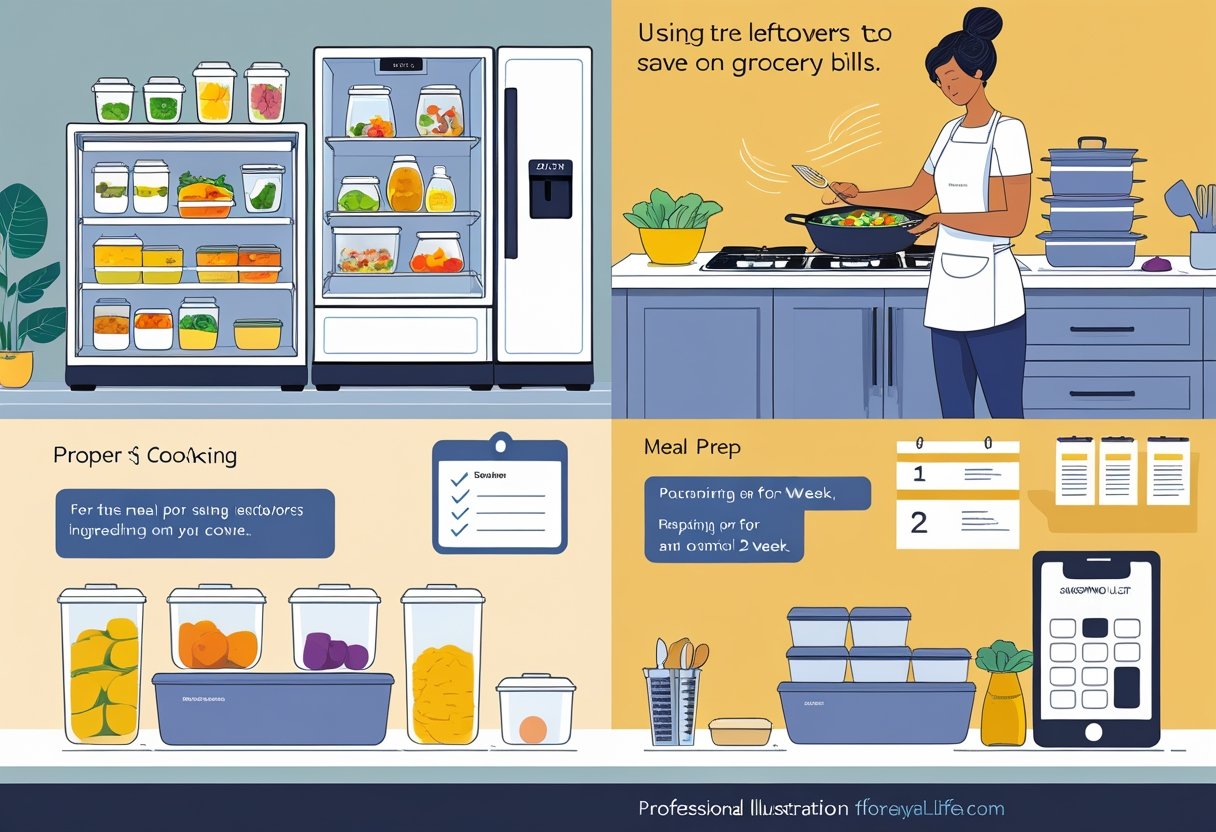
Most households toss out hundreds of dollars in food each year just because there's no plan for what's already in the fridge. Learning how to utilize leftovers can shrink your grocery bill and keep less food headed for the trash.
Introduction to Preserving Fruit and How It Can Save You Money
Learning to preserve fruit can transform a seasonal glut into year-round savings. It also helps cut household food waste—something that always feels good.
When fruits hit peak ripeness and prices drop during harvest, preservation lets families snag those savings and stretch the enjoyment out for months.
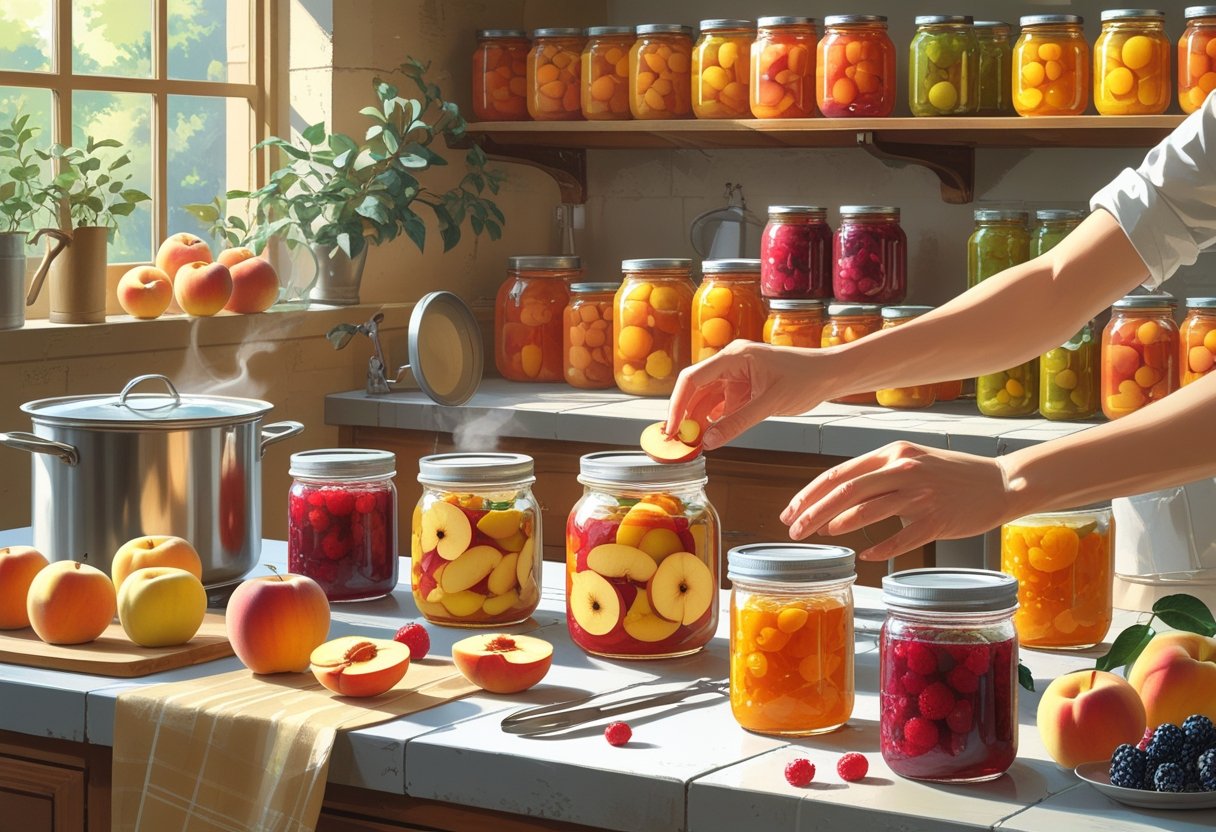
Proper fruit preservation can save households $600-1,200 annually by taking advantage of seasonal pricing and preventing spoilage. Simple preservation techniques like canning, freezing, and dehydrating don't need fancy gear, but they'll help you get the most out of garden hauls or bulk buys.
Whether you're old-school with water bath canning or trying out modern vacuum-sealing, there's a method for every fruit and storage goal. Knowing which technique fits which fruit makes a big difference if you want the best flavor and shelf life—and to squeeze the most out of your budget.
Why Preserving Fruit Saves Money
Preserving fruit really does deliver financial benefits by reducing waste, making bulk buying possible, and letting you store food for the long haul. These cost-saving strategies turn seasonal bounty into year-round value.
Reducing Food Waste and Stretching Seasonal Abundance
Food waste eats into your budget, but fruit preservation tackles that head-on. Preserving can cut food waste by up to 60% and lets you use up more of that ripe produce.
If your fruit trees or garden suddenly explode with more than you can eat, preservation keeps all that goodness from going to waste. A single apple tree can drop 200-300 pounds in a season—way more than most families can eat fresh.
Common waste scenarios that preservation prevents:
- Overripe bananas that would otherwise be discarded
- Excess berries from u-pick farms or garden patches
- Bruised or slightly damaged fruit unsuitable for fresh eating
- End-of-season produce from farmers markets at reduced prices
Preservation turns these potential losses into pantry gold. Slightly overripe peaches? Hello, peach halves in jars. Too many strawberries? That's jam or frozen smoothie packs for later.
The grocery store reality stings when you compare prices. Off-season strawberries can cost $4-6 per pound, but preserved berries from the summer haul cost way less.
Lowering Grocery Costs Through Bulk Buying
Bulk buying during peak season can really pay off—especially if you preserve what you can't eat right away. Buying in-season produce saves money, and preservation means you keep those savings rolling all year.
Seasonal price swings get wild. Peaches might be $0.99 per pound in July, but by January? $3.99 per pound. If you grab 20 pounds during the cheap months and preserve them, you'll dodge those steep winter prices.
Typical seasonal savings opportunities:
- Summer stone fruits: 50-70% cheaper than off-season prices
- Fall apples: 40-60% lower cost during harvest months
- Berry season: Up to 75% savings compared to winter prices
- Citrus fruits: 30-50% cheaper during winter peak season
Farmers markets and u-pick farms often offer bulk deals. Some sell "seconds"—funny-looking but perfectly tasty fruit—at 25-50% off. For preservation, who cares if a peach is a little lopsided?
Wholesale clubs and farm stands sometimes offer whole cases for cheap. A $15 case of pears can fill 12-15 jars, which would cost $60-75 if you bought them at retail.
Extending Shelf Life for Year-Round Enjoyment
Preserving fruit stretches storage life from just a few days or weeks to months or even years. That's how you skip the high prices of out-of-season produce.
Fresh strawberries last maybe 3-5 days in the fridge. Freeze them, and you get 8-12 months. Canned fruit, if you do it right, keeps for 2-5 years and still tastes great.
Storage life comparisons:

You won't have to buy pricey berries in December. Just dip into your stash from summer, and you get all the nutrition and flavor—without the sticker shock.
Preserved produce offers cost-effective enjoyment when fresh options are expensive or just not around. This steady access helps keep your grocery bills in check and adds some predictability to your budget.
Energy costs for preservation are surprisingly low. Running a dehydrator for 12 hours might cost $2-3, but you'll save $20-30 worth of fruit that would've gone bad otherwise.
Fundamental Fruit Preservation Techniques
To preserve fruit successfully, you've got to know the basic methods and match each one to the right fruit. Good prep and safety habits make sure your preserves last and stay tasty.
Overview of Preservation Techniques
Modern fruit preservation covers a few tried-and-true methods. Drying, canning, and freezing are the mainstays for home food preservation.
Dehydration pulls out moisture to stop bacteria from growing. Sun-drying works if it's hot enough (over 85°F), but ovens and electric dehydrators let you dry fruit any time of year.
Canning uses heat and sealed jars to kill off the bad stuff. Water bath canning is perfect for high-acid fruits like berries and citrus. Pressure canning steps in for the low-acid ones.
Freezing slows down enzymes and microbes. Most fruits freeze well if you prep and blanch them first.
Natural preservatives—think sugar, salt, vinegar—make it tough for germs to survive. Sugar syrups work great for many fruits.
Fermentation is the old-school route, using bacteria to turn sugars into acids or alcohol. The results can be pretty tasty and last a good while.
Choosing the Best Method for Different Fruits
Every fruit has its quirks, so you'll want to pick a method based on acidity, water content, and even texture. High-acid fruits like apples, berries, and citrus are pretty forgiving—they work with most methods.
Stone fruits (peaches, plums, apricots) shine when canned in syrup or dehydrated. They freeze well too, if you blanch them first.
Berries are freezer champs and don't even need blanching. They dry nicely and make killer jams, thanks to all that natural pectin.
Low-acid fruits like pears and figs need a little acid boost for canning. Add lemon juice or vinegar to hit safe acidity levels.
Tropical fruits (mangoes, pineapples) freeze and dehydrate beautifully. Their flavors get even more intense when dried.
Timing matters, too. Summer harvests often mean you've got to process things fast—canning or dehydrating is a lifesaver if your freezer's already stuffed.
Essential Safety and Preparation Tips
Food safety isn't negotiable. Stick to guidelines and prep your gear and fruit the right way. The National Center for Home Food Preservation lays out the best practices for times and temps.
Sterilize everything—jars, lids, utensils. Clean and heat them before you start, or you'll risk spoilage.
pH testing is your friend for canning. Low-acid fruits need extra acid to get below a pH of 4.6 for safety.
Processing times change depending on fruit, jar size, and even your altitude. Use tested recipes so you don't under-process and let bacteria sneak through.
Quality matters—pick ripe, unblemished fruit. Cut out any damaged bits so rot doesn't spread during storage.
Blanching stops enzymes before they mess up color and texture. It's quick—30 seconds for berries, up to 3 minutes for apples and other dense fruits.
Store your preserves in cool, dark places with steady temps. That's how you get the longest shelf life, no matter which method you use.
Canning and Water Bath Methods for Fruit
Water bath canning is a safe, straightforward way to preserve high-acid fruits at home. Boiling water kills off harmful microbes, and the vacuum-sealed jars keep everything fresh for up to a year.
How Canning Works for Fruit Preservation
Canning preserves fruit by heating and sealing it in jars. You heat the food up enough to wipe out bacteria, yeasts, and molds—the main culprits behind spoilage.
As the jars cool, the contents contract and pull the lid down tight, creating a vacuum. That seal keeps new germs out for good.
Fruits contain natural acids that help block dangerous bacteria like Clostridium botulinum. With the heat and acidity together, water bath canning becomes a safe bet for fruit.
The process also knocks out enzymes that would otherwise mess up the color, texture, and nutrients. If you store them right, canned fruits keep most of their nutrition and last at least a year.
Water Bath Canning for High-Acid Fruits
Water bath canning works exclusively for high-acid foods like most fruits, tomatoes with added acid, and pickled vegetables. The acidity in these foods keeps botulism at bay, even at boiling water temps.
Safe fruits for water bath canning include:
- Berries (strawberries, blueberries, raspberries)
- Stone fruits (peaches, plums, apricots, cherries)
- Apples and pears
- Citrus fruits
When you can tomatoes, add lemon juice or citric acid to bump up the acidity. If you want to can low-acid foods like veggies, meats, or seafood, you'll need to use a pressure canner instead.
Boiling water hits 212°F, which gets rid of spoilage organisms in acidic foods. Depending on the jar size and fruit, you might process anywhere from 10 to 30 minutes.
Step-by-Step Canning Process
Preparation Phase:
Clean your jars, lids, and bands really well. Heat jars in boiling water for 10 minutes before filling—nobody wants a cracked jar from thermal shock.
Fill the canner about halfway with water and bring it to a simmer (around 180°F). Set the jar rack in place.
Filling and Sealing:
Grab your hot jars and fill them with fruit, leaving ¼ to ½ inch headspace. A canning funnel makes life easier and keeps rims clean.
Pop any air bubbles by sliding a spatula around the inside edges. Wipe the rims with a damp cloth to keep the seal clean.
Put new lids on, then screw on bands just finger-tight. Don't crank them down—air needs a way out during processing.
Processing:
Lower jars into the canner using jar lifters. Make sure water covers the jars by at least an inch or two.
Bring everything to a rolling boil and start your timer. Stick to the times in tested recipes.
Lift out the jars and let them cool on towels for 12-24 hours. That little "ping" sound? It means you nailed the seal.
Recommended Equipment and Safety Guidelines
Essential Equipment:
- Large canning pot or water bath canner
- Jar rack to keep jars off the pot bottom
- Mason jars (Ball or Kerr work great)
- Fresh metal lids every time
- Metal bands (reuse if they're in good shape)
- Canning funnel and jar lifter
Stick to tested recipes from trusted sources like the National Center for Home Food Preservation. Don't mess with ingredient ratios or processing times.
Safety Requirements:
Skip damaged jars, dented bands, or used lids. Ovens, microwaves, and multi-cookers just can't give you the consistent heat you need for safe canning.
Check your seals by pressing the lid center—if it doesn't pop, you're good. If it moves, stash it in the fridge and eat it within two weeks.
Label jars with what's inside and the date. Keep them in a cool, dark place to get the longest shelf life.
Jam and Preserve Making at Home
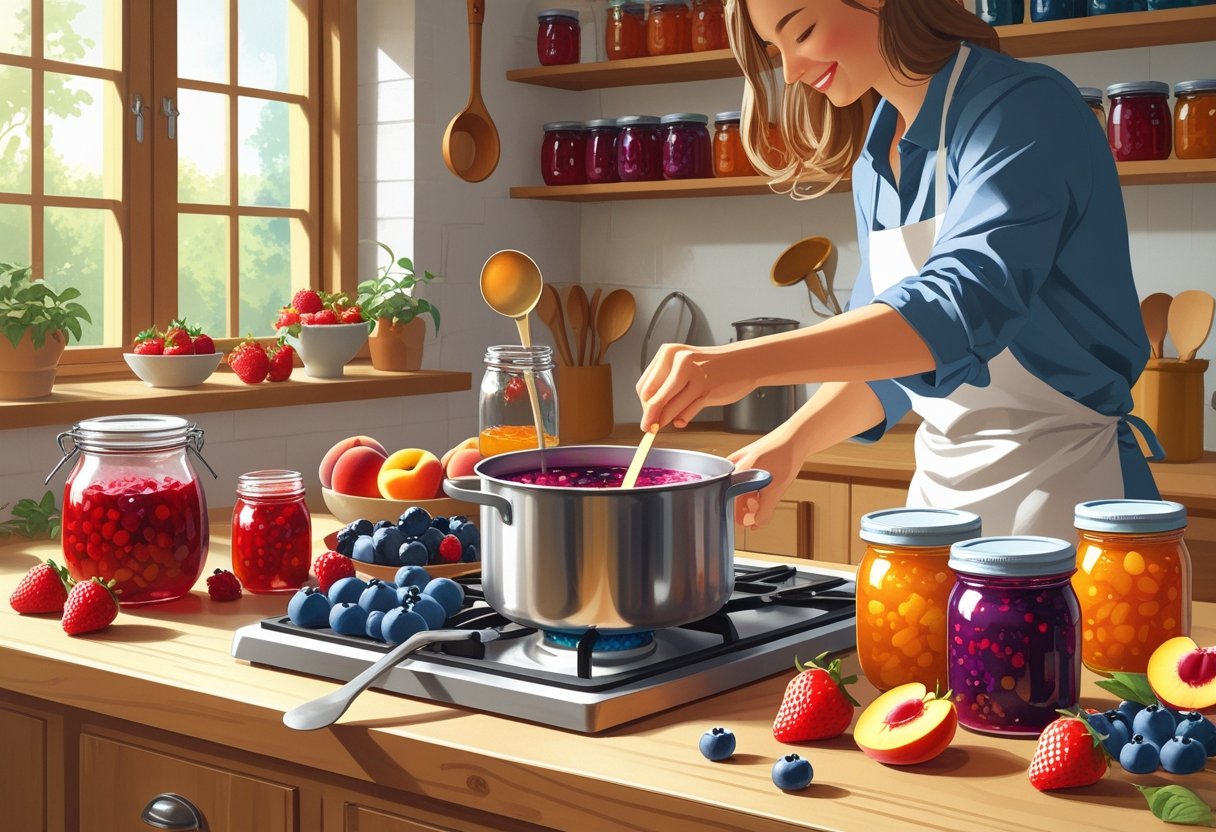
Making homemade jam and preserves turns a bumper crop into year-round pantry gold, and honestly, it saves a surprising amount of money. If you use the right techniques, you'll lock in flavor, keep jars shelf-stable, and end up with combinations you just can't find in stores.
Making Jams and Fruit Preserves
To make jams and preserves, you really want the best, ripest fruit you can get—no shortcuts here. Overripe or bruised fruit just doesn't cut it and can mess up the texture.
You'll need fruit, granulated sugar, lemon juice, and powdered pectin. Sugar helps the fruit keep its color and works with pectin for that perfect gel. Lemon juice keeps things acidic enough so your jam sets and doesn't end up too sweet.
Start by cooking fruit with lemon juice over medium heat until it gets juicy. Stir in the pectin, bring to a boil, and then dump in all the sugar at once.
Let it reach a full, rolling boil you can't stir down—then keep it boiling hard for one minute, stirring the whole time. Don't get distracted or you'll risk scorching.
Equipment needed:
- Big, heavy-bottomed pot
- Sterilized canning jars with lids
- Wooden spoon
- Jar funnel
- Clean towels
Sterilizing your jars is essential. Run them through the dishwasher or boil them for a few minutes in a big pot—just don't skip this step.
Homemade Jam Tips for Long Shelf Life
How you store your jam determines how long it lasts. You've got three main options: fridge, freezer, or water bath canning.
Keep jam in the fridge and it should last 1-2 months, assuming you store it right. This is best for small batches you'll eat soon. Sugar helps keep it from spoiling fast.
If you freeze jam, you'll get up to a year of good quality. Fill hot, sterilized jars, let them cool, then freeze. You'll need the freezer space, but there's no canning involved.
Water bath canning is the way to go for shelf-stable jam that lasts 1-2 years at room temp. Process your filled jars in boiling water following trusted canning guidelines. If you seal them right, bacteria can't get in.
Critical safety points:
- Don't flip hot jars upside down to seal
- Stick to tested recipes with enough acid
- Adjust your processing time if you're at high altitude
- Double-check seals before eating stored jam
Creative Flavor Combinations in Jam
Homemade jam opens up a world of flavor—it's not just about single fruits. Mixing two fruits often gives you something way more interesting.
People love combos like peach-apricot, strawberry-rhubarb, or any kind of mixed berry. You get a nice balance of sweet, tart, and texture, plus you can use up whatever's in season.
Spices make a big difference, too. Try vanilla, cinnamon, ginger, cardamom, or cloves—they'll boost the fruit without overpowering it. Add them during cooking so the flavors really meld.
Advanced flavor enhancements:
- Roasted jalapeños for a sweet-heat kick
- Fresh herbs like basil or thyme
- Citrus zest to brighten things up
- A splash of spirits for a grown-up twist
Add wine or bourbon for depth—don't worry, the alcohol cooks off, but the flavor stays behind.
Fruit Jam Storage and Savings
Making your own fruit jam saves a bundle compared to buying the fancy stuff at the store. If you buy fruit in bulk during peak season, you'll save even more.
A batch with 2 pounds of fruit usually makes 6-8 jars. Fresh fruit might cost $3-5 per pound, but a good store-bought jam runs $6-8 per jar. That's a huge savings—sometimes 70-80% less than buying it.
If you store it right, your investment goes further. Frozen jam keeps its quality for a year, and canned jam is still good after two. Don't forget to label jars with what's inside and the date.
Storage optimization tips:
- Stick with the same jar size for portion control
- Keep jars in a cool, dark spot
- Check seals every so often
- Use the oldest jars first
Preserving fruit lets you enjoy summer berries in winter or bright apple preserves in spring. It's a little extra work, but the payoff lasts all year.
Pickling and Quick Pickling Fruits
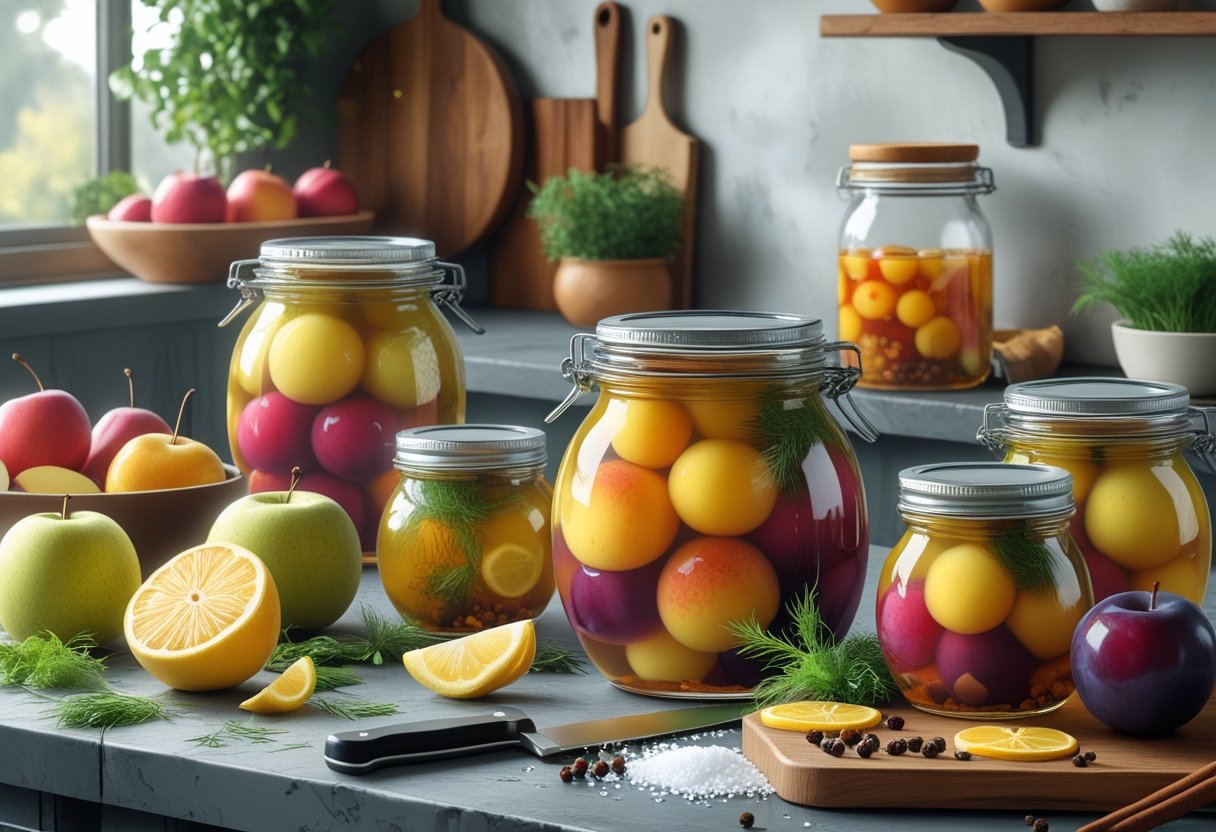
Pickling turns fresh fruits into tangy, preserved snacks by soaking them in vinegar-based brines. Quick pickling is great if you want fast results and don't have special gear—perfect for small batches or just experimenting.
Introduction to Pickling Methods
Traditional pickling uses fermentation, which can take weeks or even months. This method creates deep, complex flavors thanks to natural bacteria working in salt brine.
Quick pickling skips the wait and gives you pickled fruit in about 30 minutes. Instead of fermenting, you just use an acidic solution and pop it in the fridge.
The big difference? Texture and flavor. Quick pickles stay crisp and bright, while traditional ones taste a bit funkier and get softer.
Best Fruits for Pickling:
- Apples and pears
- Stone fruits (peaches, plums, nectarines)
- Grapes
- Firm berries
Fruits that aren't too watery hold up best since they keep their shape in the brine.
Using Vinegar Brine and Spices
A basic vinegar brine needs just four things: water, vinegar, salt, and sugar. Usually, you go with equal parts water and vinegar, then add salt and sugar to taste.
Basic Brine Recipe:
- 2 cups water
- 2 cups white or apple cider vinegar
- 3 tablespoons salt
- 1 tablespoon sugar
The vinegar keeps things safe and tangy. Salt brings out flavor and helps with texture, while sugar smooths out the sharpness.
Spices make it interesting. Cinnamon and cloves are perfect for apples, ginger loves stone fruits, and black peppercorns or bay leaves work with just about anything.
Heat the brine so the salt and sugar dissolve completely. That way, everything preserves evenly and tastes right.
Quick Pickling for Small Batches
Quick pickling really shines when you've got just a handful of fruit that you know you won't eat in time. It's a lifesaver for single servings or just enough to last the week.
Grab some clean, fresh fruit and cut it into pieces that look about the same size. Toss the fruit into sterilized jars, but don't forget to leave about half an inch of space at the top.
Pour hot brine over the fruit and make sure everything's completely covered. You want every piece to soak.
Seal up the jars and pop them straight into the fridge. Most quick pickles hit their stride somewhere between 24 and 48 hours—after that, they're good for up to a month as long as you keep them cold.
This method doesn't just keep food from going to waste; it also lets you whip up surprisingly fancy ingredients from stuff you already have. Since you're only making a little at a time, you can play around with spices and flavors without a big commitment.
You don't need a bunch of canning gear or anything complicated. Just grab some regular jars and basic pantry staples, and you can make pickled fruit that's honestly on par with what you'd get at a restaurant—but for way less money.
Freezing, Vacuum-Sealing, and Other Modern Approaches
These days, we've got some pretty clever ways to keep fruit fresh. By playing with temperature and cutting out oxygen, you can stretch the shelf life from a few weeks to well over a year—without sacrificing nutrients.
Freezing Fruits for Freshness and Nutrition
Freezing stops bacteria in its tracks by dropping the temp to 0°F or below. That pretty much puts a pause on everything that makes fruit go bad.
Most fruits keep 85-95% of their original vitamins and minerals if you freeze them right. Berries, cherries, and grapes especially hold up well, probably thanks to their lower water content.
Stone fruits—think peaches and plums—need a little prep or they'll end up brown and weirdly textured.
Optimal freezing temperatures:
- Home freezers: 0°F to -10°F
- Deep freezers: -10°F to -20°F
- Commercial flash freezing: -31°F
Flash freezing is the gold standard since it forms tiny ice crystals that don't wreck the fruit's structure. Slow freezing? Not so much—it usually leaves you with mush.
Frozen fruit will stay solid for 8-12 months in a regular freezer. If you have a deep freezer, you can stretch that to 18-24 months and still keep most of the nutrition intact.
Blanching and Its Importance
Blanching means dunking fruit in boiling water for a bit, then cooling it fast in ice water. This step knocks out the enzymes that mess with color, flavor, and nutrients during freezing.
Recommended blanching times for common fruits:
- Apples (sliced): 2-3 minutes
- Peaches (halved): 3-4 minutes
- Pears (quartered): 2-3 minutes
- Apricots (halved): 2-3 minutes
Timing here is everything. Go too long and you lose nutrients and end up with mush; too short and you don't stop the enzymes.
Right after blanching, throw the fruit into ice water for just as long as you boiled it. That stops the cooking and helps the fruit keep its shape.
Some fruits—like berries, grapes, and citrus—skip the blanching altogether. They're acidic enough, and their enzymes aren't really a problem, so you can just wash, dry, and freeze them as they are.
Vacuum-Sealed Bags for Long-Term Storage
Vacuum sealing removes air to slow bacterial growth and helps prevent freezer burn, which really wrecks fruit quality over time.
This method can stretch out frozen fruit storage by 3-5 times compared to tossing fruit in regular plastic bags. It's kind of wild how much longer things last.
Vacuum-sealed bags keep things airtight, blocking oxidation and moisture loss.
Fruits keep their original color, flavor, and—let's be honest, the big one for some people—nutritional content for way longer.
Storage duration comparison:
- Regular plastic bags: 6-8 months
- Vacuum-sealed bags: 2-3 years
- Combined with deep freezing: 3-5 years
Vacuum sealing works best when combined with freezing to create ideal preservation conditions.
No air means no ice crystals forming on fruit surfaces, which is a relief if you've ever bitten into a weirdly icy strawberry.
Delicate fruits like strawberries and raspberries need partial vacuum sealing so they don't get squished.
Firmer fruits—think apples and pears—can handle full vacuum pressure without any issues.
If you pre-freeze fruits for a couple hours before vacuum sealing, you can stop juices from getting sucked out during the process.
This little trick keeps fruit intact and helps avoid bag seal failures, which is honestly a lifesaver if you've ever had a leaky mess.
The holiday season's here and let's be honest, gatherings deserve drinks that go beyond the usual. If you know how to whip up a few signature Christmas cocktails, you'll look like the host who actually knows what they're doing and your guests will probably remember your drinks more than your playlist.
The holiday season brings joy and celebration, but wow, it can hit your wallet hard. Plenty of home cooks worry that making a memorable Christmas meal means buying pricey ingredients and spending hours in the kitchen, which just isn't always doable for every budget.

